Virtual performances can’t quite replicate the highs of IRL events but in a post-pandemic era, they offer several advantages, with regard to safety, reach – the world’s your stage – and revenue. If you’ve resisted conducting them so far, then know that the last two years have seen the emergence of several tools and resources for all kinds of performers, from musicians to dancers to actors and spoken word artists, to optimise their livestreams and make them as close as possible to the real deal. To help you get started, our beginner’s guide to performing live online.
Tips for setting up the livestream
Just like you would for a physical event, prepare for your stream with a run through of your session. Include small breaks during which you can respond to comments and make your event more engaging for your audience.
– The easiest and fastest way to go live is to use the camera on your smartphone or computer that allows you to connect to the internet easily, and stream directly to Facebook, Instagram, YouTube, Zoom or other social media and video platforms. While those platforms offer a lot of convenience, there are certain obvious limitations to them with regard to the quality of the videos and the restriction on only being able to stream a continuous recording.
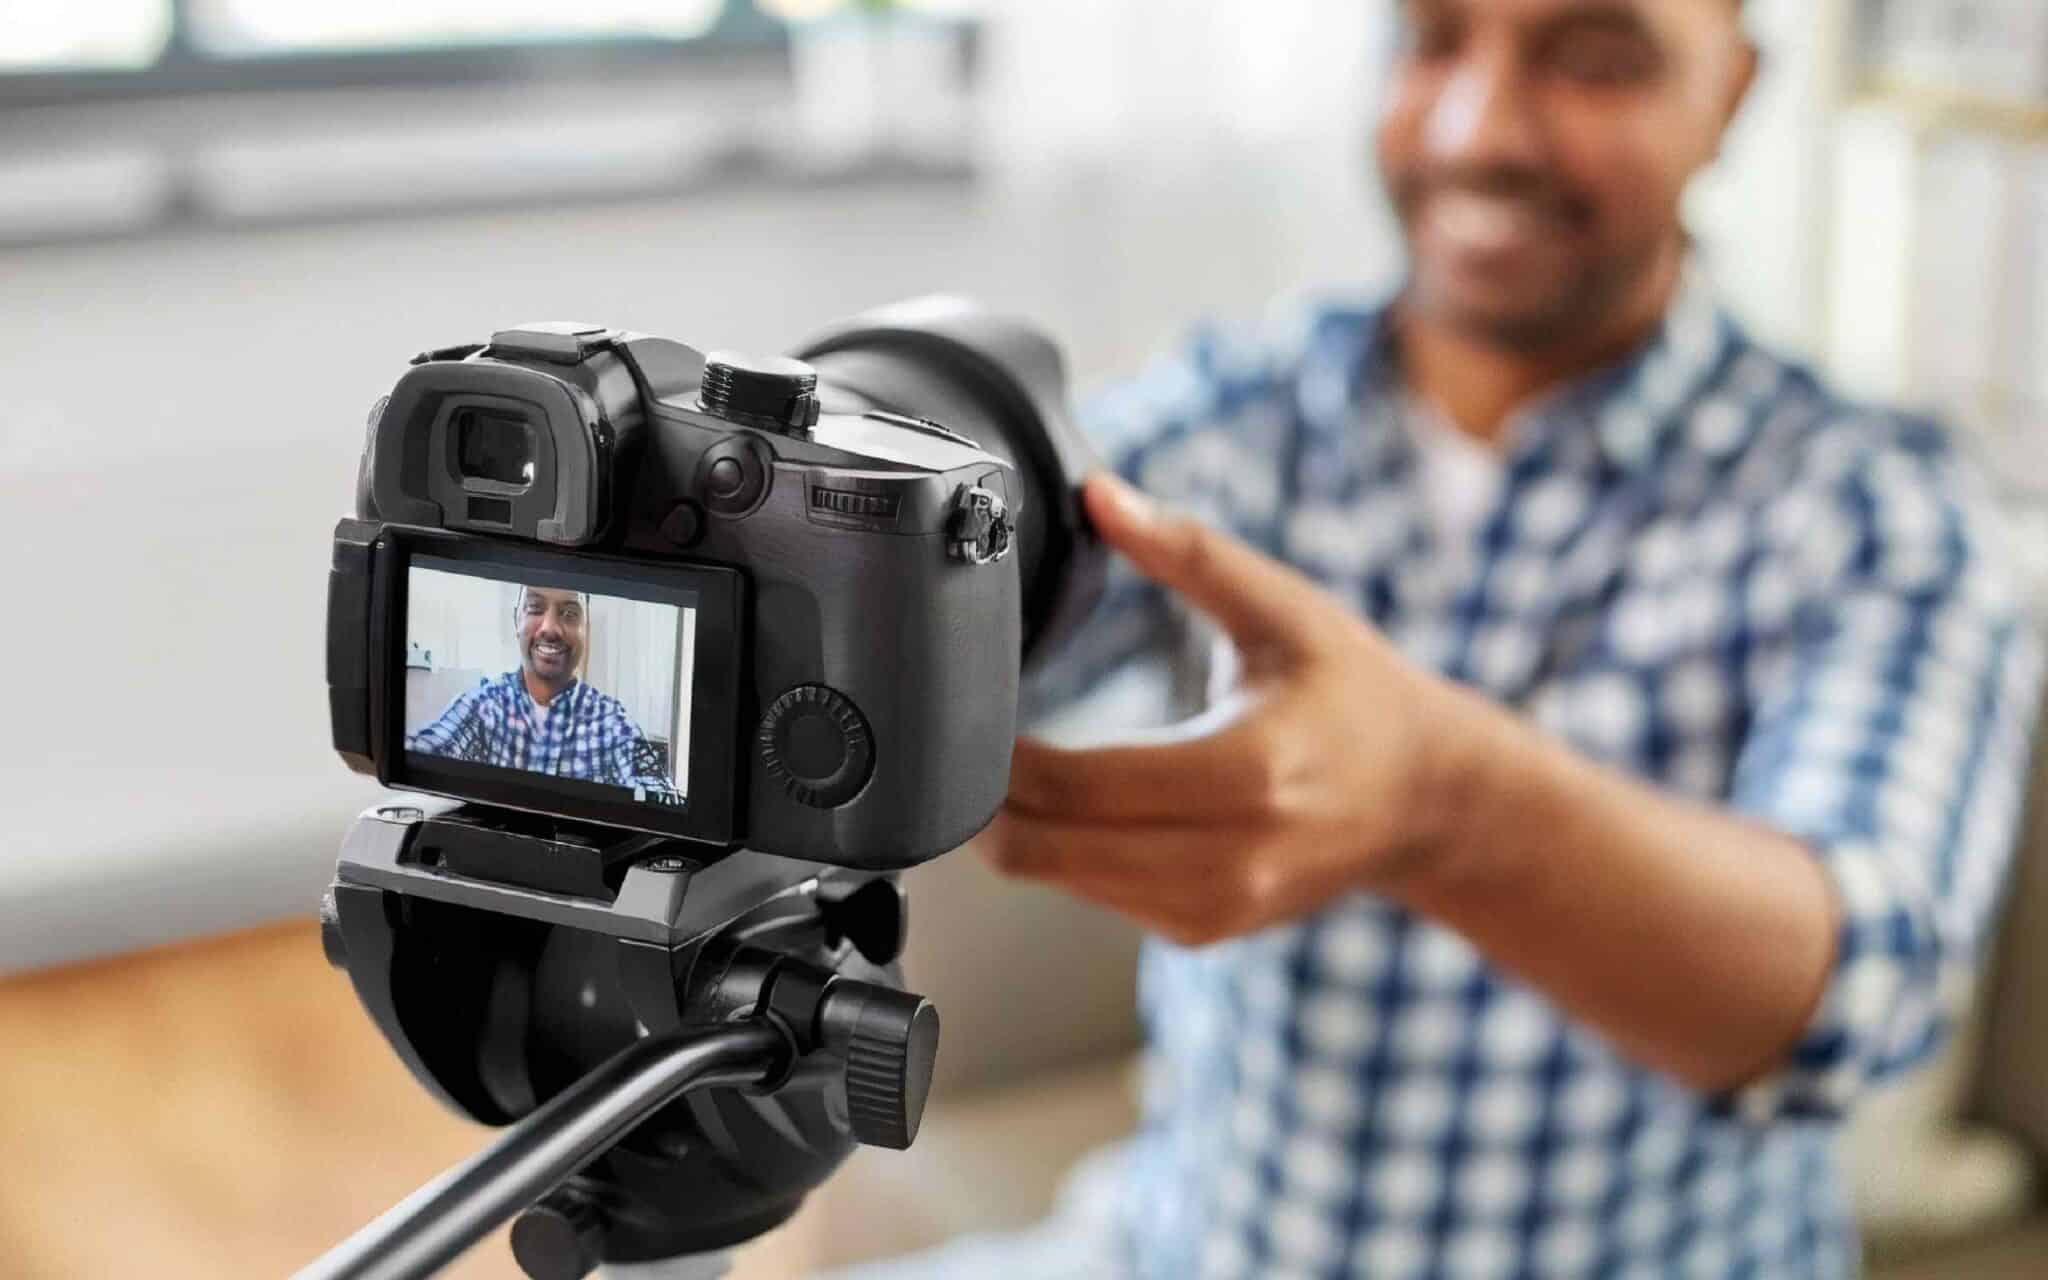
– For a more refined-looking stream, consider investing in a professional video camera that captures and streams clearer, higher resolution videos. Go for a standalone video camera designed for extended use but don’t spend thousands on a high-end camcorder either—unless you know how to use it and plan on using it frequently.
– Avoid going for multiple camera angles unless you have the budget and a person with the expertise to switch the shots as required for the stream.
– Use a tripod if you don’t have a steady platform to support your camera.
Tips for optimising sound quality
– Background noises like buzzing, hissing or sounds such as echoes can mar an online performance so pick a quiet place from which to go live. Find a spot away from traffic, put your phone on silent mode, and switch off the fan or air conditioner for the duration of the session.
– If you’re a musician or using music in your performance, then it’s essential to have a quality audio interface, microphone and a mixer. Avoid using only your phone or laptop microphones as those tend to create unbalanced sound levels. Audio interfaces give you control over the routing of your audio. At a basic level, this means sending one output signal to a set of speakers and another to a set of headphones. You use the headphones for monitoring, allowing you to understand what the output is like.
– For non-music performances, an external mic will suffice. Here’s a list of some of the best ones in the market. If you’re on a tight budget, you can opt for a USB mic that you can plug right into a cell phone, laptop or computer with the help of an adaptor. This will allow you to create studio quality sound, even with your phone.
– Use a pop filter to keep from popping the mic. A pop filter is a noise protection device for microphones, typically used to filter out any peaking sounds on both the high and low ends, giving a refined output to the audio. Here’s a list of a few recommended pop filters.
– Whenever possible, wear a pair of headphones that help you monitor what your listeners are hearing.
Tips for optimising lighting
– A poorly lit performance can really deteriorate the viewing experience so think about the direction you’re facing in regards to your primary source of light. If it is a window, you need to be facing the window. Don’t sit with your back to the source of light, since that creates unwanted shadows.
– While any amount of light is better than none at all, try to avoid harsh lighting. Use a diffuser or lampshades to reduce the intensity of the light you’re using. If a light is harsh, try bringing it closer. While you might expect that pushing the light away from you will reduce its harshness, it may actually make it worse.
– Invest in ring lights. These lights diffuse light evenly on the subject, because of which they’re great for close-up shots. Here are a few options that may work for you.
– A three-point lighting set-up may be the best way to get a professional-looking result. It consists of a key light, fill light and backlight. The key light is the primary source of light and is placed facing either the left or right side of the face. The fill light is placed on the other side of the face to fill in any harsh shadows. The backlight is placed behind you to separate you from the background.
Testing 1,2,3…
As mentioned earlier, doing a sound check before starting your session is of utmost importance. Equally important is checking your power supply and internet connectivity and adjusting your screen to make sure the framing is perfect. Doing all of this 30-40 minutes before you’re scheduled to go live will give you enough time to troubleshoot any last-minute issues. If you’re conducting a panel discussion or interviewing somebody you should carry out the check a day prior to the session to resolve any potential tech issues.


Share on